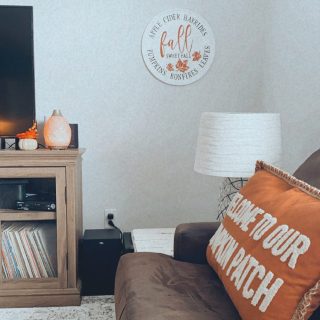
Since I refinished my beautiful side table for the family room, I knew it was time to get me some coasters so we don’t ruin the newly finished wood. I’m really trying to go for a mix of rustic and modern in our family room; of course I’ve been searching on Pinterest for the perfect thing. I found some adorable stone tiles turned coasters and just had to try it out for myself!
Read on for a step-by-step tutorial on how I made my coasters, and FREE downloads so you can make your own!
Pages: Page 1 Page 2


 Loading...















Love the chevrons! Looks great! Thanks for sharing at the Pomp Party! Pinning to our Pomp Party board!
Wow these look great! I wasn’t sure if it was the photo causing the blue, but you said you like it, so I guess not. That makes the set even more special. I found you at Fabulous Friday Link Party
Ya…I’m not sure why it turned out blue? But I do like the look!
Hey – nice job here!!
Visiting via the Pomp Party Blog Hop :)
Sarah
http://acatlikecuriosity.blogspot.co.uk/
Stopping by from Classy Clutter and I am loving this idea and look of the different chevron prints! I covered some stone coasters with craft paper but just left it on under several coats of mod podge. I really like the look of it being printed on the stone!
Have a great day ~ Laura
I love your little Chevron Coasters! They turned out so cute! Found you at Simply Creations Friday Party. I’m now follower. Would love to have you stop by for a visit! Blessings ~ Judy
These look so great! Love the chevron.
Thanks so much for linking up to the Pinworthy Projects Party last week. Hope to see again this Friday.
I love, love, love these and will be making some of my own! I’m featuring you on Doodles & Stitches tomorrow. Thanks for linking up!
Thank you so much! :-)
Wow. These are fantastic. I want to try this. I’m going to pin it.
This is the coolest idea! I have never seen this done before! I can’t wait to try this with my youth group! Thank you for such detailed instructions. So glad I found your blog.. I am your newest follower! If you ever have time I would love for you to come check mine out!
-Peggy
Thank you so much for following! I checked out your before & afters and they’re beautiful! I’d love to see how yours turn out… sam {at} atkinsondrive {dot} com
These are great! Pinning!
Newest follower, too! :)
These are wonderful! Thanks for sharing at Tips & Tricks, AND CONGRATS on reaching your goal on your blog – SO QUICKLY! That’s awesome!
Thanks again!
Have a great week!
-Heather
Stringtown Home
What kind of paper is used? Regular printing paper or something thicker like cardstock?
I just used regular printer paper! :-)
Thanks! Can’t wait to try these!!
Looking forward to trying this soon. Had you heard back from anyone, if they used a coloured print and how it went?
I haven’t…though I’d love to!
Love these! I did them today using printed paper and scrapbook paper. Both turned out great! thanks for a great idea! Oh, and mine were colored, worked like a charm!